> ## Documentation Index
> Fetch the complete documentation index at: https://docs.ordibl.ai/llms.txt
> Use this file to discover all available pages before exploring further.
# Task actions
This guide will walk you through configuring your Ordibl AI agent to handle booking management through Cal.com integration, enabling your customers to schedule and check appointments automatically.
## Overview
* **Purpose**: Configure your AI agent to make and check bookings using Cal.com
* **Requirements**: Cal.com API keys and event type IDs
* **Note**: All actions must be assigned to an AI agent to function
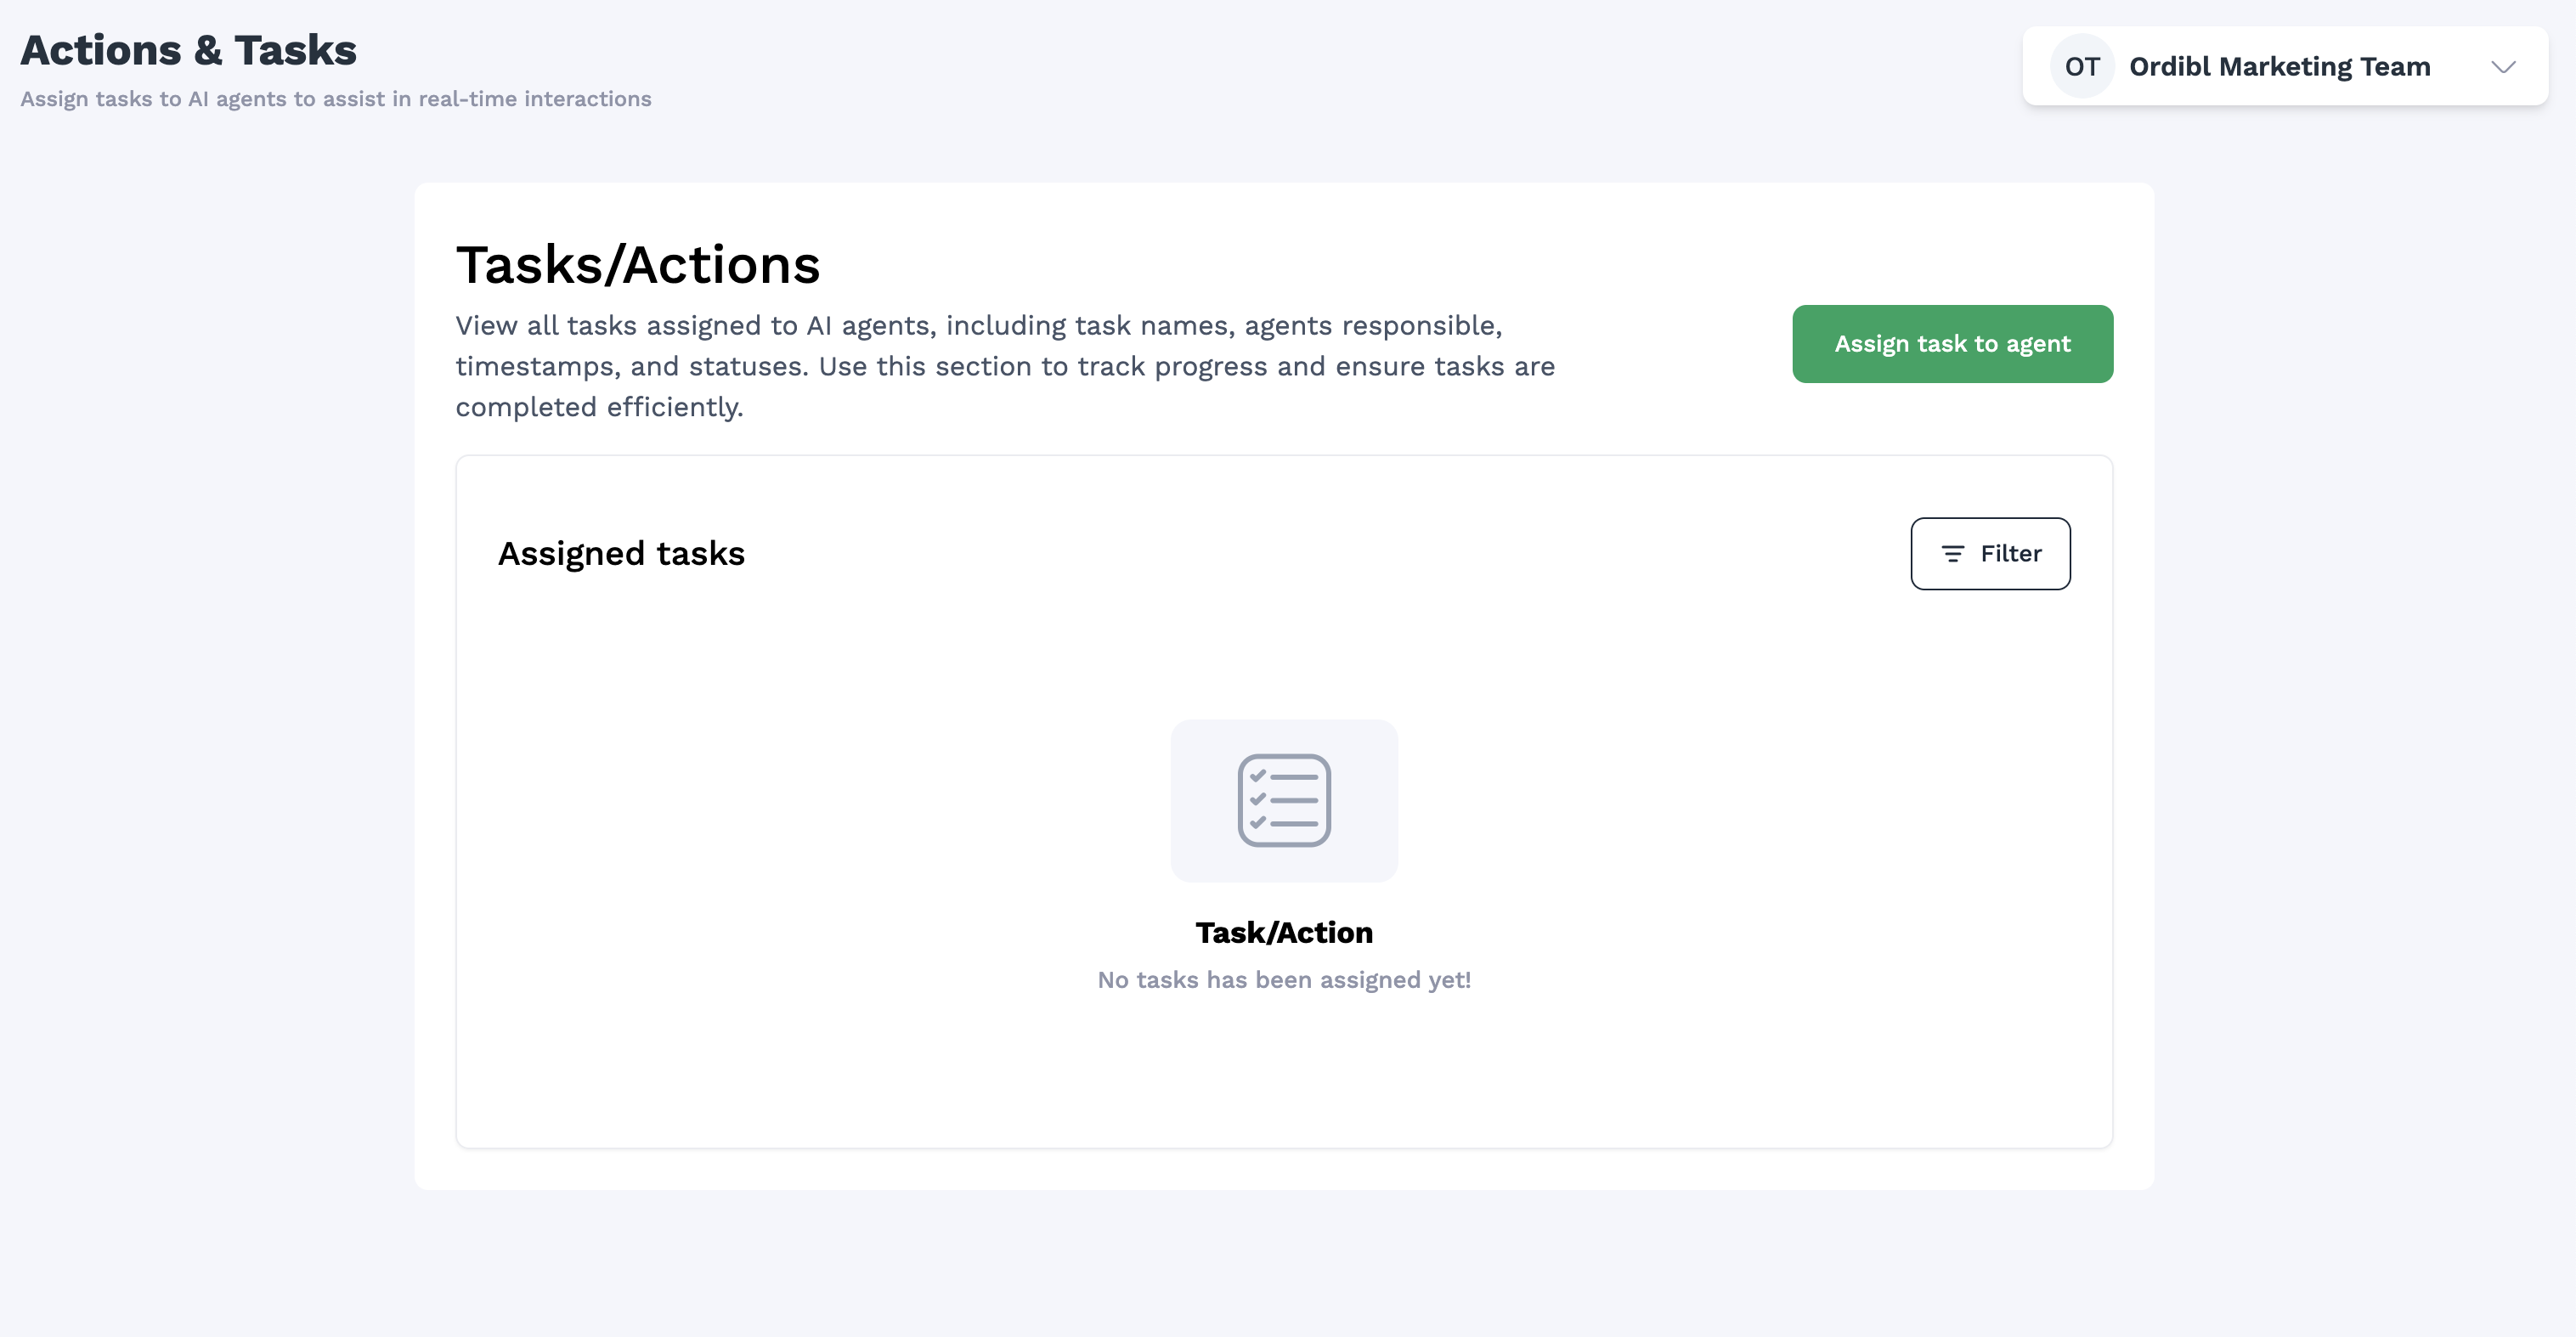
### Accessing the Task/Action Section
1. Log in to your [Ordibl Dashboard](https://app.ordibl.ai)
2. Locate and click on the **"Task/Action"** option in the left navigation sidebar
3. You'll be taken to the action configuration interface
 ### Creating a New Booking Action
1. Click the "Create New Action" or "Add Action" button
2. Select "Booking Management" from the action type dropdown
3. Give your action a descriptive name (e.g., "Customer Appointment Scheduling")
### Creating a New Booking Action
1. Click the "Create New Action" or "Add Action" button
2. Select "Booking Management" from the action type dropdown
3. Give your action a descriptive name (e.g., "Customer Appointment Scheduling")
 ### Configuring Cal.com Integration
* Creating a New Booking Appointment Action
* Look for the "Create New" or "+" button on the Actions & Tasks page
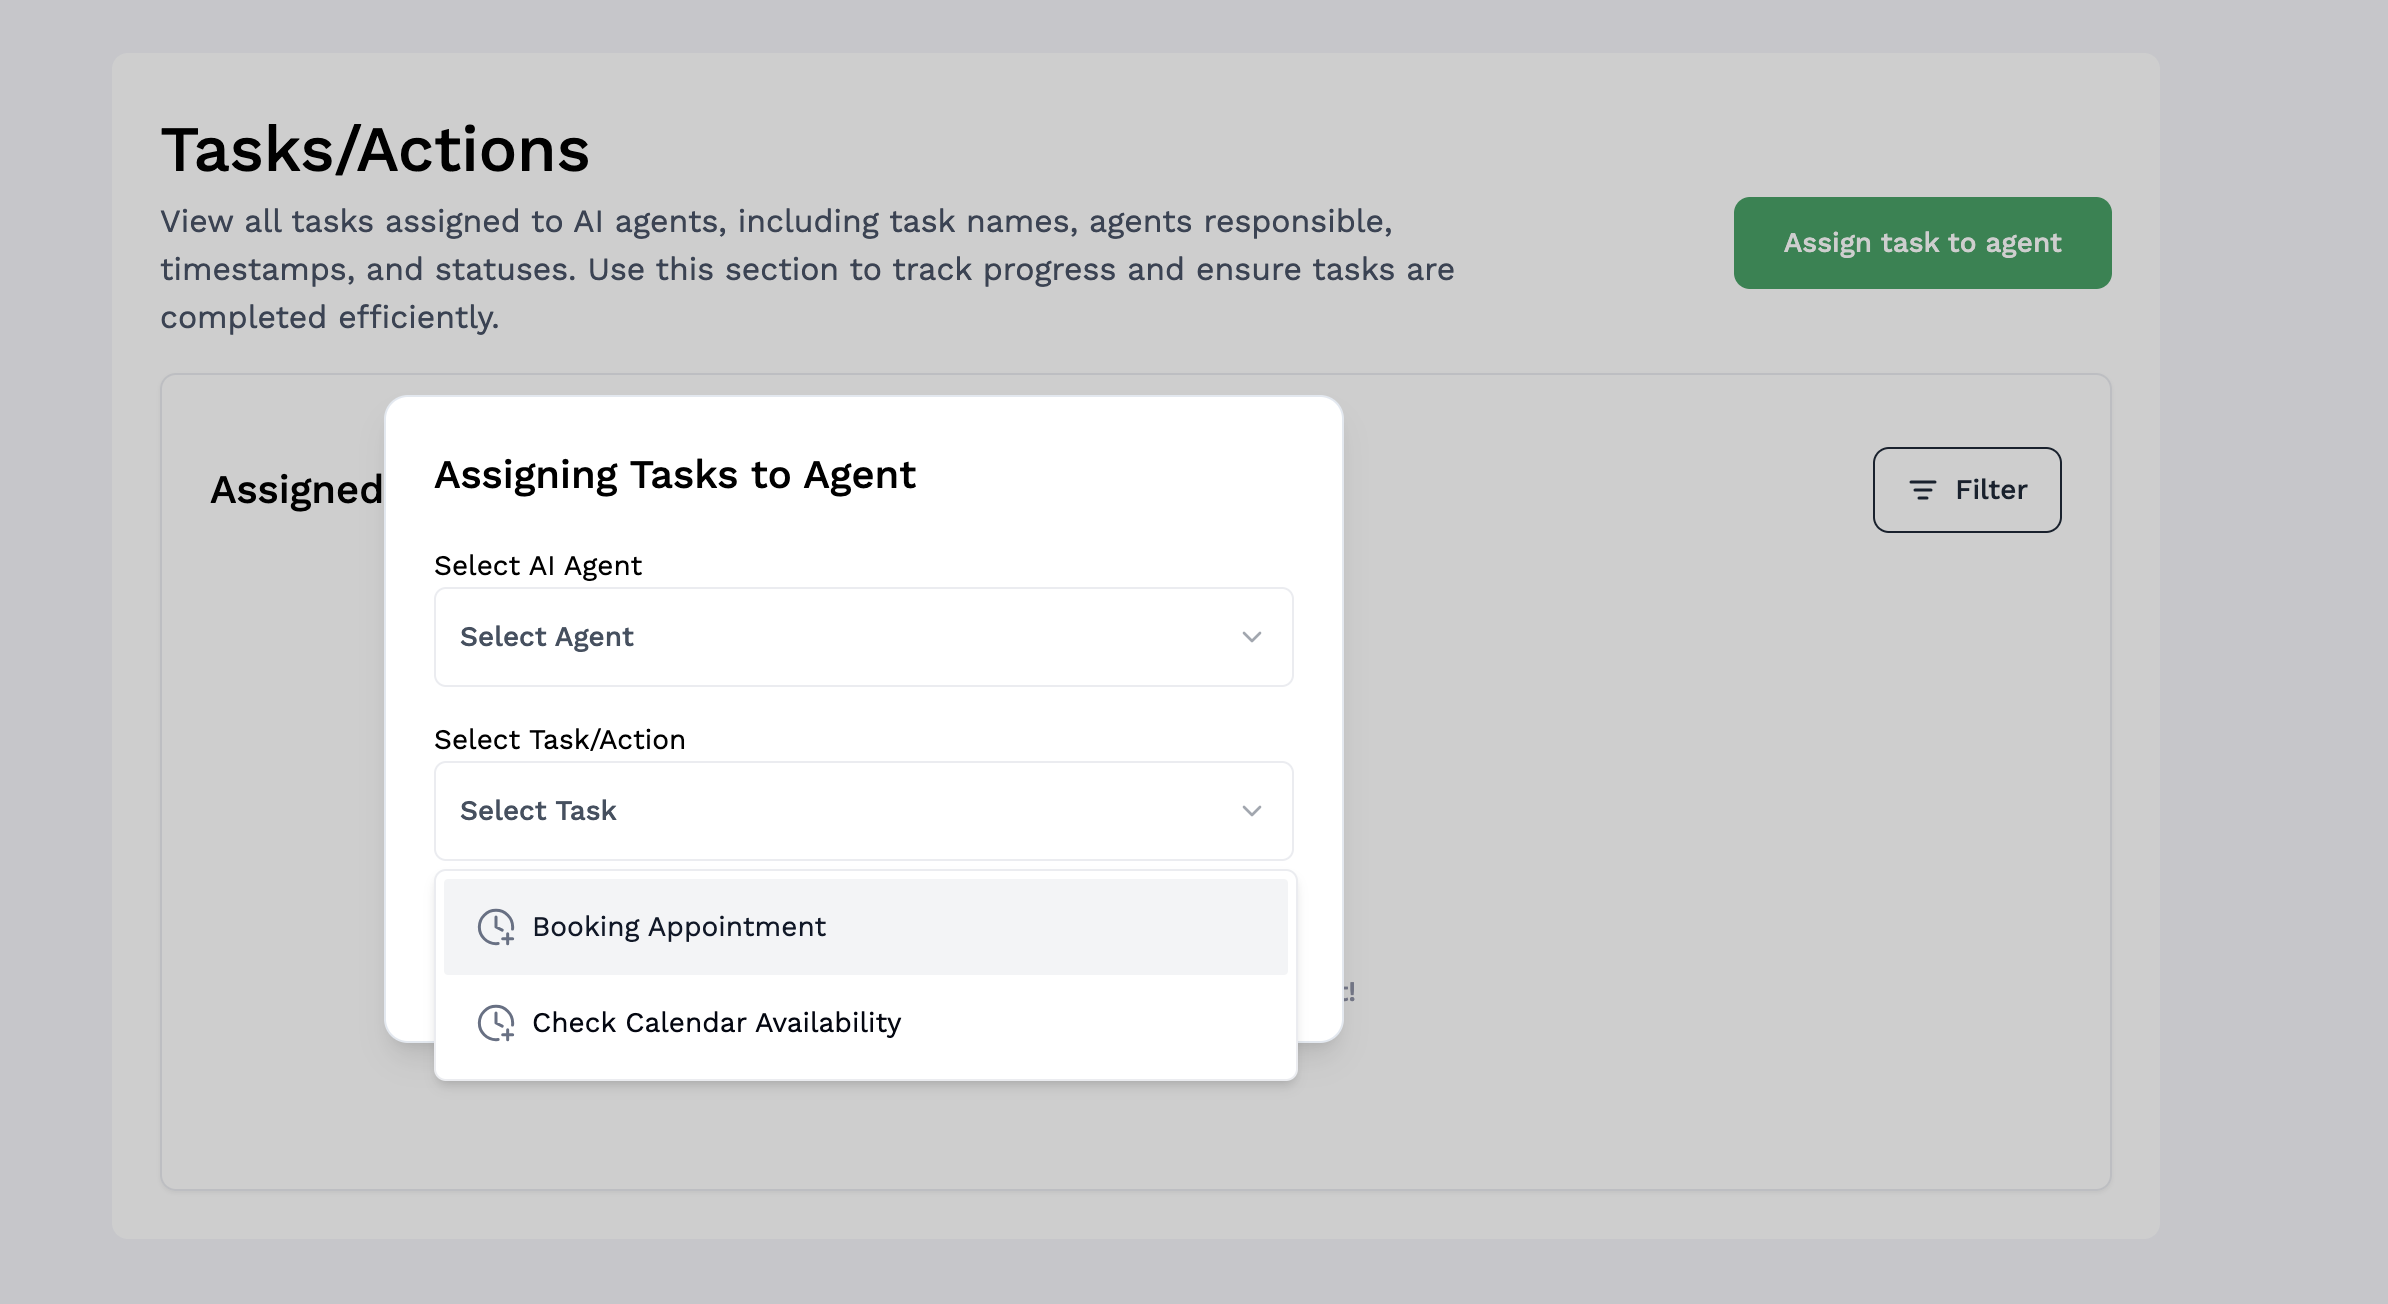
* Select "Booking Appointment" from the available action types
* Select your AI agent from the dropdown menu
* Click "Continue" to proceed
* A modal window will appear with the booking configuration form
### Configuring Cal.com Integration
* Creating a New Booking Appointment Action
* Look for the "Create New" or "+" button on the Actions & Tasks page
* Select "Booking Appointment" from the available action types
* Select your AI agent from the dropdown menu
* Click "Continue" to proceed
* A modal window will appear with the booking configuration form
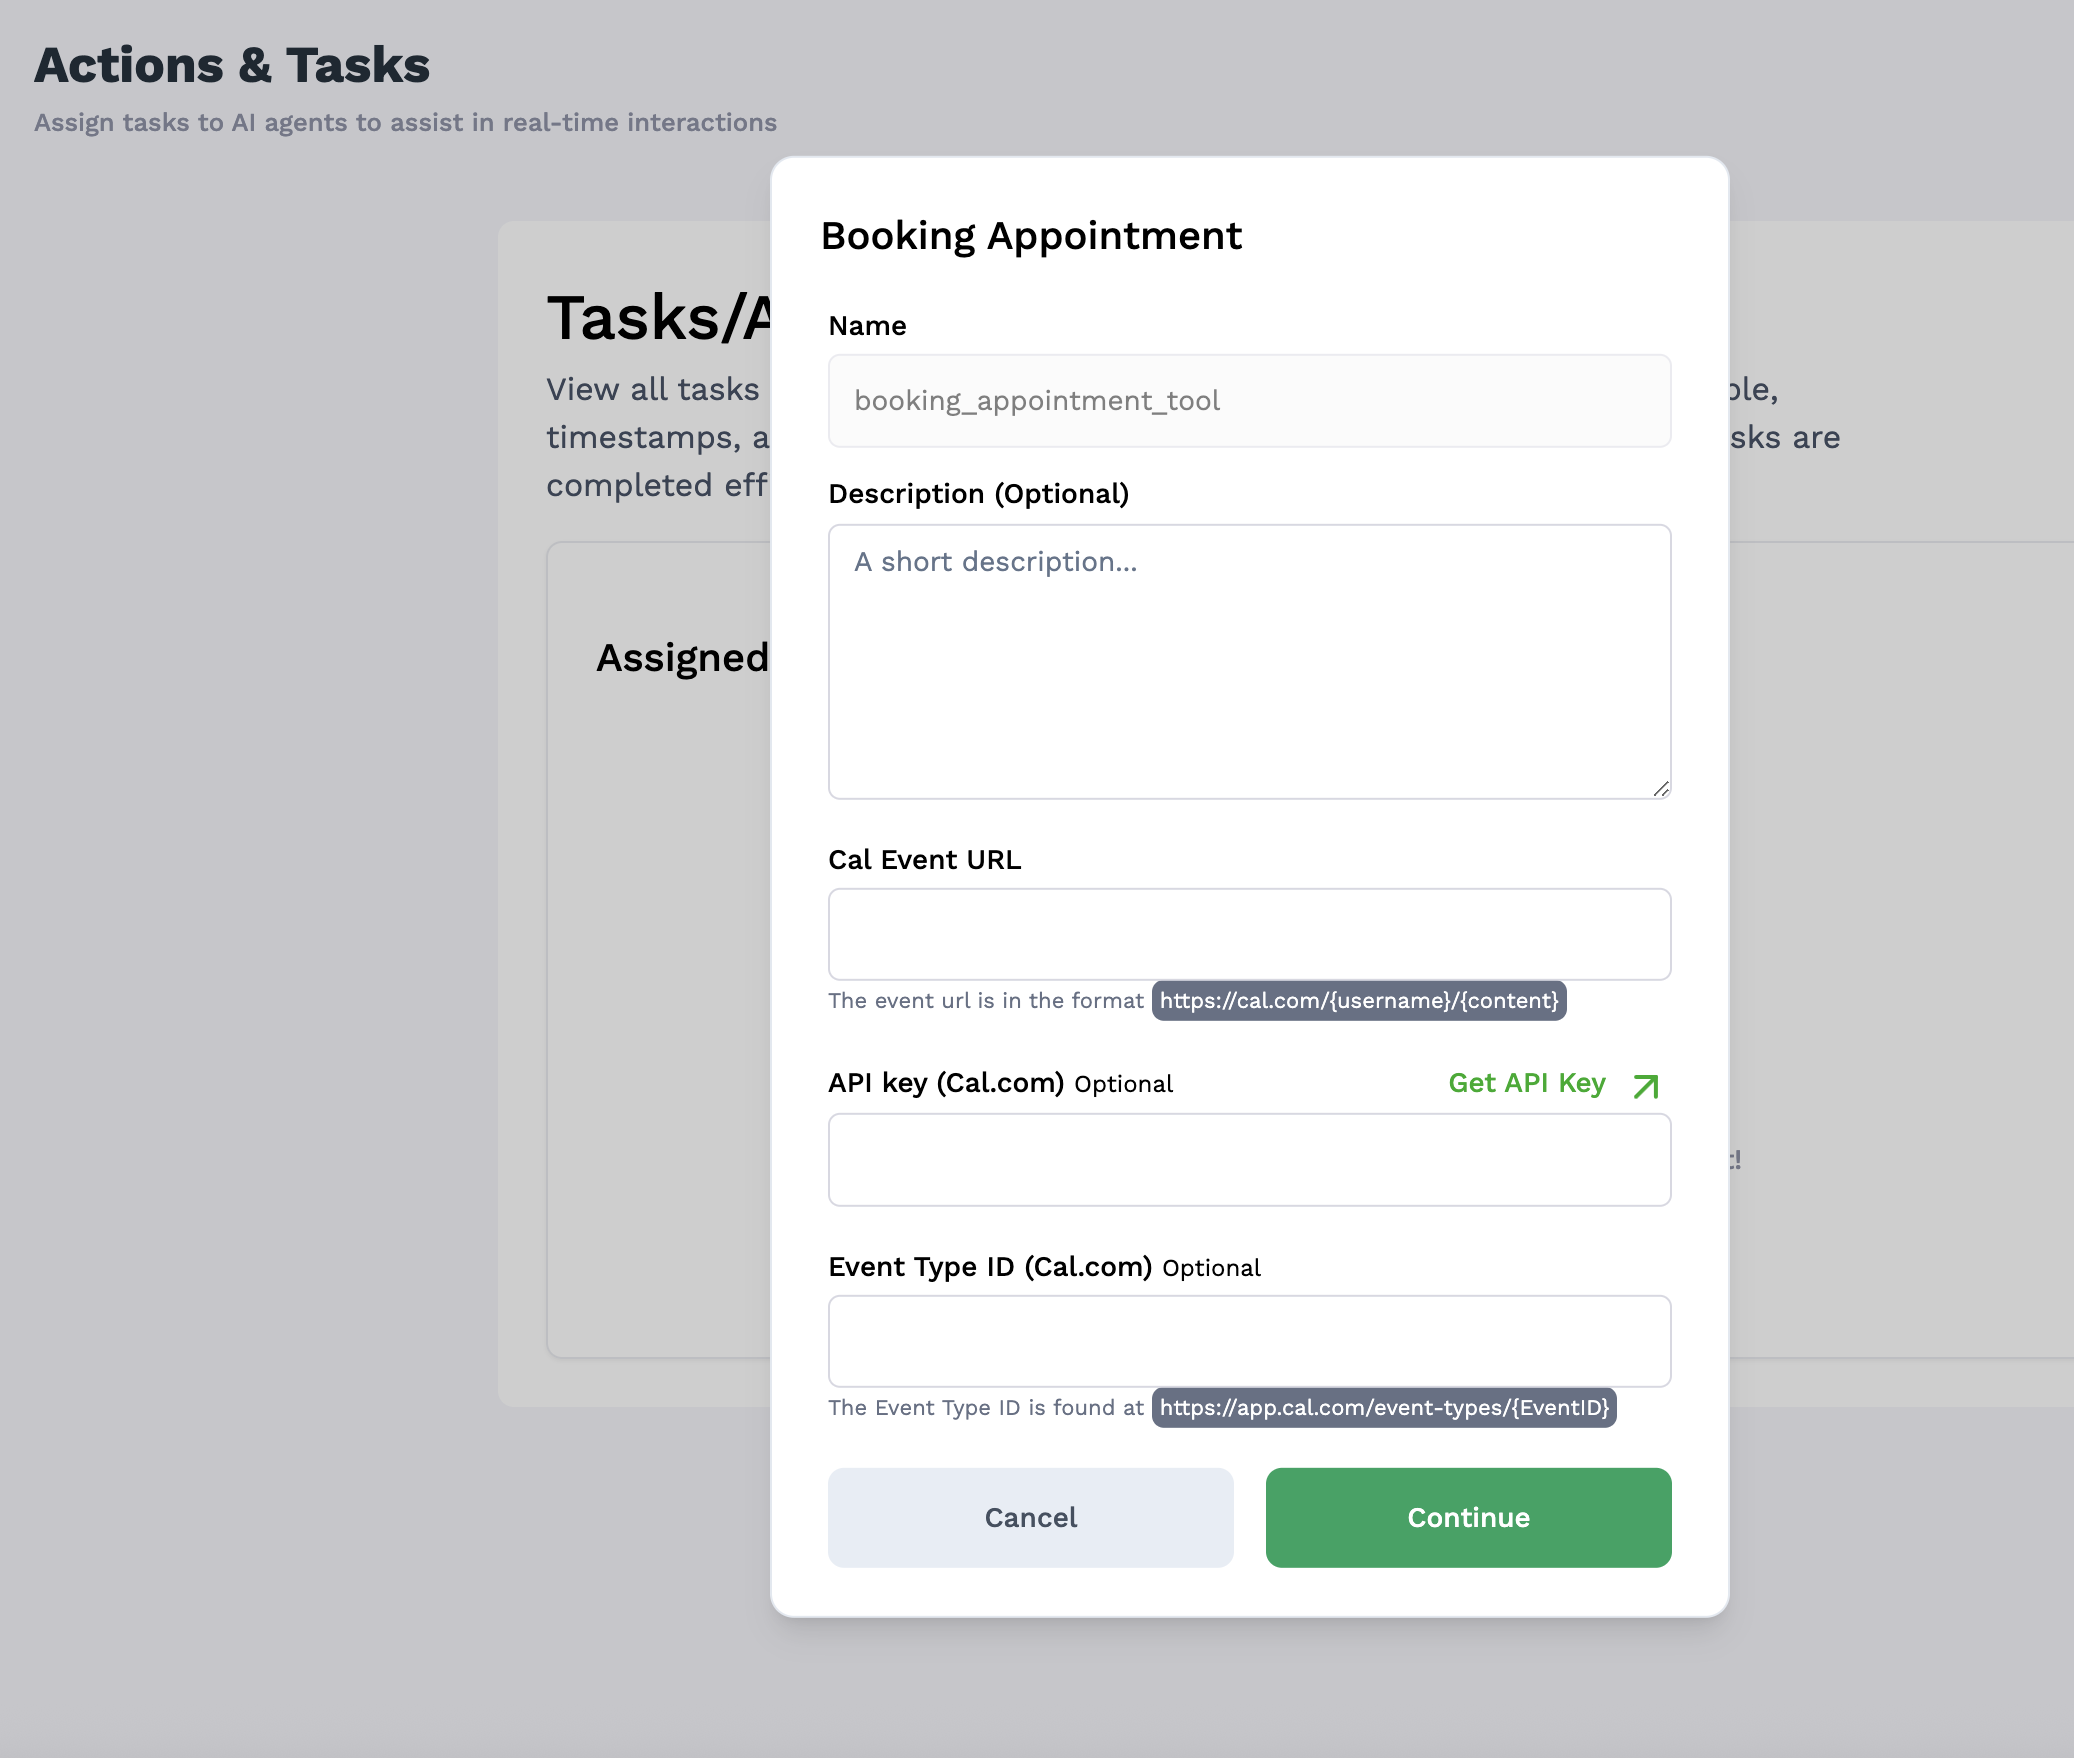 * Fill in the required fields:
* **Action Name**: Give your action a descriptive name (e.g., "Customer Appointment Scheduling")
* **Description**: Provide a brief description of what this action does
* **Booking URL**: Enter your Cal.com booking URL
* This should be in the format: `https://cal.com/{username}/{content}`
* This is the public-facing booking page for your calendar
* **API Key**: Enter your Cal.com API key
* If you don't have one yet, click the "Get API Key" button to be directed to Cal.com
* **Event Type ID**: Enter the Event Type ID from Cal.com
* This can be found at `https://app.cal.com/event-types/{EventID}`
## Important Notes
* Ensure your Cal.com account has available slots configured
* API keys should have the proper permissions for creating and reading events
* Keep your API credentials secure and updated
* If you change event types in Cal.com, update your Ordibl configuration
* Create clear conversation templates for your AI to use when discussing booking options
* Consider time zone handling for international customers
By following this guide, your Ordibl AI agent will be able to seamlessly handle appointment scheduling and verification, providing your customers with an efficient booking experience without human intervention.
* Fill in the required fields:
* **Action Name**: Give your action a descriptive name (e.g., "Customer Appointment Scheduling")
* **Description**: Provide a brief description of what this action does
* **Booking URL**: Enter your Cal.com booking URL
* This should be in the format: `https://cal.com/{username}/{content}`
* This is the public-facing booking page for your calendar
* **API Key**: Enter your Cal.com API key
* If you don't have one yet, click the "Get API Key" button to be directed to Cal.com
* **Event Type ID**: Enter the Event Type ID from Cal.com
* This can be found at `https://app.cal.com/event-types/{EventID}`
## Important Notes
* Ensure your Cal.com account has available slots configured
* API keys should have the proper permissions for creating and reading events
* Keep your API credentials secure and updated
* If you change event types in Cal.com, update your Ordibl configuration
* Create clear conversation templates for your AI to use when discussing booking options
* Consider time zone handling for international customers
By following this guide, your Ordibl AI agent will be able to seamlessly handle appointment scheduling and verification, providing your customers with an efficient booking experience without human intervention.